
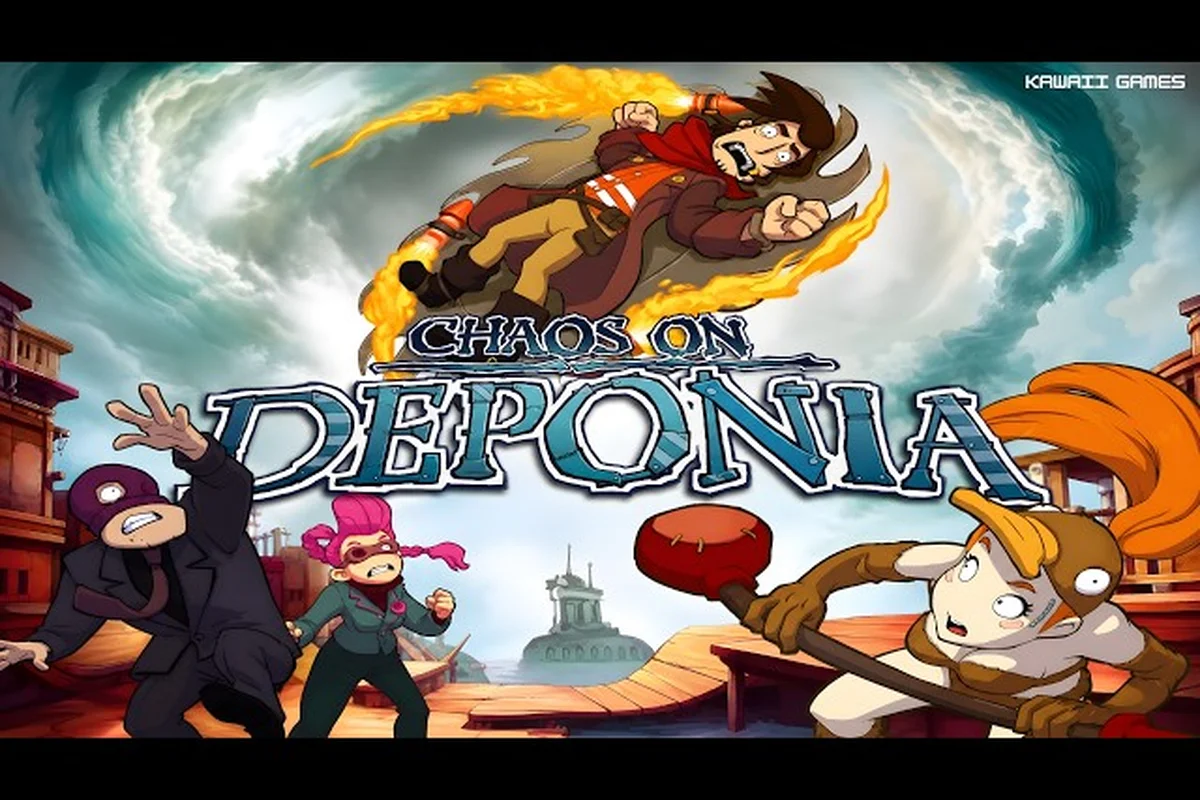
The Chaos on Deponia walkthrough begins with a disaster of Rufus's own making: Goal's consciousness gets shattered into three separate discs, and you must track down every fragment across the floating junk planet. This sequel to the acclaimed point-and-click adventure raises the stakes by forcing you to manage three distinct personalities while navigating the same twisted humor and logic that defined the original. Because the game throws you straight into the chaos without hand-holding, having a reliable chaos on deponia full walkthrough at your side saves you from the frustration of pixel-hunting and dead-end puzzle loops.
What makes this entry particularly demanding is that each disc fragment behaves differently, and some puzzles require you to swap between them mid-solution. The game is fully self-contained, so you do not need to replay the first installment to follow the story, although veterans will appreciate the callbacks. According to the official Steam page for Chaos on Deponia, the title holds a Very Positive rating and a Metacritic score of 78, which reflects how well the writing and puzzle design hold up. If you are coming from the first game, our Deponia full walkthrough covers the opening chapters and character introductions in detail.
Chaos on Deponia Walkthrough: Chapter-by-Chapter Breakdown
The chaos on deponia walkthrough spans six chapters, each with its own location, cast of eccentric characters, and inventory puzzles. Unlike the first game, which eased you into the world, this sequel expects you to hit the ground running. The opening chapter drops you into the aftermath of Goal's accident, and you must immediately start piecing together what happened while dodging the Organon patrols that now swarm the region.
| Chapter | Location | Core Objective | Key Puzzle Type |
|---|---|---|---|
| Chapter 1 | The Junk Heap | Escape the initial area and find the first disc fragment | Lever-and-crank mechanics, dialogue traps |
| Chapter 2 | Port Fairee | Retrieve the second disc from a traveling merchant | Trade chains, disguise puzzles |
| Chapter 3 | The Floating Market | Infiltrate the Organon checkpoint | Timing-based distractions, item combination |
| Chapter 4 | The Ascension Station | Break into the lower levels undetected | Logic gates, multi-step environmental puzzles |
| Chapter 5 | The Garbage Mines | Recover the final disc from the mining operation | Switch sequencing, NPC cooperation |
| Chapter 6 | The Rocket Platform | Assemble all discs and confront the finale | Inventory synthesis, timed dialogue choices |
Each chapter builds on the previous one, and the game expects you to remember small details from earlier locations because they often become relevant again later. For instance, an item you pick up in Chapter 2 might not find its purpose until Chapter 4, which is why keeping a mental inventory of everything you collect matters more here than in most adventure games. The chaos on deponia full walkthrough below breaks down the trickiest sequences so you never get stuck for hours on a single screen.
Chapter 1: Escaping the Junk Heap
The game opens with Rufus waking up next to the shattered remains of the machine that was supposed to save Goal. Your first task is to grab the three disc fragments scattered around the immediate area, but the game does not mark them on the map, so you need to examine every corner of the screen. The first fragment sits inside a broken pipe near the exit ramp, the second requires you to use a crowbar on a sealed container, and the third only appears after you solve a small lever puzzle that raises a platform.
The lever puzzle in Chapter 1 trips up many players because the solution is counterintuitive: you must pull the lever twice, wait for the platform to lower, then quickly run across before it rises again. The timing window is generous, but if you pull the lever a third time, the mechanism jams and you have to reset it by clicking the gearbox on the wall. After collecting all three fragments, you need to combine them with a binding agent found in the nearby toolbox to create a temporary whole, which triggers the cutscene that introduces the disc-swapping mechanic.
Chapter 2: The Merchant's Price
Port Fairee introduces the game's most memorable supporting character: a merchant who refuses to part with the second disc unless you complete a series of increasingly absurd favors. The merchant wants a rare fish, which requires you to convince a fisherman to lend you his rod, which requires you to fix his broken radio, which requires a vacuum tube from the junk dealer across town. This trade chain spans roughly twenty minutes of gameplay and teaches you the game's core philosophy: every problem has a solution, but the solution always involves three or four unrelated steps.
The dialogue options in this chapter matter more than they appear to, because choosing the wrong response locks you out of certain trade paths. Save before initiating any conversation with the merchant, and reload if you accidentally say something that ruins the deal. The game does not warn you when a dialogue choice is permanent, so the chaos on deponia walkthrough recommends keeping multiple save slots during this section.
Puzzle Mechanics and the Three Disc System
The defining mechanic of this sequel is the disc-swapping system, which lets you switch between three versions of Goal's personality on demand. Each disc represents a different facet of her consciousness: the Rational Disc excels at logic puzzles and computer terminals, the Emotional Disc can persuade NPCs and unlock empathy-based dialogue, and the Chaotic Disc can access physical shortcuts and break objects. You can only have one disc active at a time, and certain puzzles require you to switch mid-solution to progress.
| Disc Type | Strengths | Weaknesses | Best Used For |
|---|---|---|---|
| Rational | Computer hacking, math puzzles, technical reading | Cannot persuade or intimidate NPCs | Terminal access, code-breaking |
| Emotional | Dialogue persuasion, reading NPC moods | Cannot operate machinery | Getting information, unlocking dialogue paths |
| Chaotic | Physical force, breaking barriers, speed | Cannot read or interact with terminals | Accessing blocked routes, bypassing guards |
The game tracks which disc you used for each major decision, and this affects the ending you receive, although the branching is not as extensive as some players expect. According to community reports, the disc choices influence roughly four dialogue scenes and the final confrontation, but the core story beats remain identical regardless of your selections. This means you can experiment freely without worrying about missing a huge chunk of content, although completionists will want to replay the game to see every variation.
Combining Disc Abilities
Some of the most satisfying puzzles require you to use two discs in sequence, and the game introduces these gradually so you can learn the rhythm. For example, one puzzle in Chapter 4 requires the Rational Disc to decode a security panel, which reveals a hidden passage that only the Chaotic Disc can break through. You must switch discs at the right moment, because activating the wrong disc at the wrong time locks you out of the solution and forces you to backtrack.
The game communicates which disc you need through subtle visual cues: terminals glow blue for Rational, NPCs with dialogue options glow pink for Emotional, and destructible barriers glow orange for Chaotic. Once you recognize these patterns, the chaos on deponia full walkthrough becomes significantly easier because you can pre-plan your disc switches before entering a room. This visual language is consistent throughout the entire game, so paying attention to the color coding saves you from trial-and-error guessing.
Storming the Station
The middle third of the game takes place in the Ascension Station, a floating facility where the Organon processes new recruits and maintains their surveillance network. This section is the most linear part of the chaos on deponia walkthrough, but it also contains the highest concentration of tricky puzzles. You need to infiltrate the station disguised as a maintenance worker, which requires assembling a uniform, a tool belt, and a fake ID badge from components scattered across three separate floors.
| Puzzle Step | Required Item | Location | Disc Needed |
|---|---|---|---|
| Obtain uniform | Soiled jumpsuit | Laundry room, Floor 1 | Chaotic (to bypass guard) |
| Clean the uniform | Cleaning solvent | Supply closet, Floor 2 | Rational (to unlock code) |
| Create fake ID | Photo + laminator | Security office, Floor 3 | Emotional (to distract officer) |
| Assemble tool belt | Belt + tools | Maintenance bay, Floor 1 | Chaotic (to break lock) |
The station section also introduces timed stealth sequences, where you must move between cover points while guards patrol on fixed routes. These sequences are forgiving compared to dedicated stealth games, but they still require patience because the guards' vision cones are generous. If you get caught, you respawn at the start of the sequence with all your inventory intact, so the penalty is minimal. The game saves automatically at the beginning of each stealth segment, which means you never lose more than a few minutes of progress.
Decoding the Security Terminals
The Rational Disc's terminal puzzles follow a consistent pattern: you must match colored wires to their corresponding ports while a timer counts down. The timer is cosmetic rather than functional, because it never actually expires and you can take as long as you need to solve the puzzle. This design choice reduces frustration while still creating the illusion of pressure, which is a smart compromise for players who find timed puzzles stressful.
Each terminal puzzle has three difficulty tiers, and the station contains one of each tier. The easiest tier requires matching three wires, the medium tier requires five wires with two decoy ports, and the hardest tier requires seven wires with three decoys. The decoy ports look identical to real ones, so you must trace each wire visually before connecting it. According to player reports, the hardest terminal puzzle takes most people between five and ten minutes on their first attempt, so do not feel discouraged if you need to stare at the screen for a while.
The Garbage Mines and Final Assembly
The penultimate chapter sends you into the Garbage Mines, where the final disc fragment rests in the hands of a mining foreman who refuses to give it up. This section features the game's most elaborate puzzle chain, requiring you to sabotage the mine's machinery, impersonate an inspector, and navigate a collapsing tunnel system. The foreman's office contains a safe that holds the disc, and the combination requires information from three separate NPCs scattered throughout the mine.
The first NPC gives you the first two digits of the combination in exchange for a lunchbox you find in the break room. The second NPC gives you the next two digits after you fix his drill, which requires a replacement gearbox from the supply depot. The third NPC gives you the final two digits only if you solve a word puzzle based on mining terminology, which tests your vocabulary more than your logic. Once you have all six digits, the safe opens and you retrieve the final disc fragment.
| NPC | Request | Reward | Prerequisite |
|---|---|---|---|
| Break room worker | Bring lunchbox | First two digits | None |
| Drill operator | Fix the drill | Middle two digits | Gearbox from depot |
| Foreman's assistant | Solve word puzzle | Final two digits | Completed drill fix |
After collecting all three discs, you return to the rocket platform for the finale, which requires you to assemble the disc holder device while fending off Organon soldiers. The assembly sequence is straightforward: place each disc in its labeled slot, then activate the machine using the power cell you have been carrying since Chapter 2. The ending sets up the next installment directly, which is why many players immediately search for a goodbye deponia walkthrough after finishing this game.
Preparing for Goodbye Deponia
The final cutscene reveals that the disc-swapping mechanic was only a temporary solution, and the next game introduces a completely different puzzle system involving three Rufus clones. Because the sequel changes mechanics so dramatically, the goodbye deponia walkthrough requires a different approach than this one, although the humor and puzzle philosophy remain consistent. If you want to continue the story seamlessly, our Deponia walkthrough guide covers the entire series structure and explains how each installment connects.
The transition between games is smooth because the developers designed each entry to be self-contained while still rewarding players who experienced the previous titles. You do not need to carry over any save files, and the story recap at the beginning of Goodbye Deponia catches you up on everything you might have forgotten. This design philosophy makes the series accessible to newcomers while giving veterans a reason to keep playing.
Chaos on Deponia Walkthrough: Puzzle-Solving Strategies
Beyond the chapter-specific solutions, the chaos on deponia walkthrough benefits from a few universal strategies that apply to every puzzle in the game. The most important rule is to examine everything before attempting any solution, because the game hides clues in the most unexpected places. A seemingly decorative poster might contain a code, a broken machine might have a removable part, and an NPC's idle animation might reveal what they are hiding.
The second rule is to combine items liberally, even when the combination seems nonsensical. The game's humor often comes from absurd item combinations, and some puzzles require you to think like a cartoon character rather than a logical problem-solver. If you are stuck, try combining every item in your inventory with every other item, and note which combinations produce new objects. This brute-force approach feels inelegant, but it works because the game rewards experimentation.
The third rule is to talk to every NPC multiple times, because characters often reveal new information after you complete unrelated tasks. The game uses a dialogue flag system that unlocks new conversation options as you progress, so revisiting old characters after major events frequently yields useful hints. Some players report that the game's hint system is generous, but only if you actively seek out conversations rather than rushing through the story.
| Strategy | When to Use | Expected Result |
|---|---|---|
| Examine everything | Start of every new area | Find hidden items and clues |
| Combine all items | When stuck on a puzzle | Discover new objects |
| Revisit NPCs | After major story beats | Unlock new dialogue options |
| Switch discs frequently | When a puzzle resists solution | Reveal alternate interaction paths |
| Save before conversations | Before any dialogue with choices | Avoid permanent lockouts |
Managing Your Inventory
Inventory management in this game is straightforward because the interface automatically sorts items into categories, but the chaos on deponia full walkthrough recommends keeping your inventory organized mentally as well. The game allows you to carry an unlimited number of items, so there is no risk of running out of space, but tracking what you have and where you found it helps you solve puzzles faster. Some items look similar to each other, and confusing them can waste time during multi-step solutions.
The game also includes a notebook feature that records important clues and dialogue snippets, which is invaluable for puzzles that require information from earlier chapters. Check the notebook whenever you feel stuck, because the answer is often sitting in your notes waiting to be connected to your current situation. This feature is underused by many players, but it dramatically reduces frustration for those who remember to consult it.
Frequently Asked Questions
How long does it take to complete Chaos on Deponia?
The average playthrough takes between eight and twelve hours, depending on your familiarity with point-and-click adventure games and how often you need to consult a chaos on deponia walkthrough. Puzzle veterans can finish in under eight hours, while completionists who want to see every dialogue variation should budget closer to fifteen hours.
Do I need to play the first Deponia game before this one?
No, because Chaos on Deponia is designed as a self-contained story that recaps the important events from the first game. However, playing the original enhances your appreciation of the character dynamics and recurring jokes. The Steam page confirms the game is playable without the first installment, although veterans will catch more references.
How does the disc-swapping mechanic affect the ending?
The discs you use for major decisions influence roughly four dialogue scenes and the final confrontation, but the core story beats remain identical. Community testing shows that no single disc choice locks you out of the ending, so you can experiment freely. Replaying the game with different disc preferences reveals additional dialogue but not alternate endings.
What should I do if I get stuck on a puzzle?
First, check your notebook for clues you might have missed, then try combining all inventory items with each other, and finally revisit NPCs to trigger new dialogue. If none of these work, saving and reloading sometimes resets puzzle states that have become bugged. The game's hint system is generous but only activates when you have examined all relevant objects.
Is there a direct connection to Goodbye Deponia?
Yes. Chaos on Deponia's ending directly sets up Goodbye Deponia, where the three-disc consciousness system is replaced by three Rufus clones. Since the puzzle mechanics shift entirely, our Goodbye Deponia walkthrough covers that new clone-switching logic, while this guide's Ascension Station infiltration and Garbage Mines chapters handle the disc-based puzzles.